
How to Tamp Espresso Correctly: The Home Barista Guide
If your espresso tastes bitter, sour, or just inconsistent from shot to shot — your tamp might be the problem. Tamping is one of those techniques that looks simple but has a surprisingly big impact on what ends up in your cup. The good news: once you understand what you're trying to achieve and why, it clicks fast.
What Is Tamping and Why Does It Matter?
Tamping is the process of compressing your ground coffee into a flat, even puck inside the portafilter basket before brewing. The goal isn't to pack the coffee as hard as possible — it's to create a uniform, dense surface that forces pressurised water to flow evenly through the entire bed of grounds rather than finding shortcuts around the edges or through weak spots.
When water finds those shortcuts, you get channelling — uneven extraction that produces sour, bitter, or hollow-tasting espresso. A good tamp is your first line of defence against it.
What Size Tamper Do You Need?
Before we get into technique, you need the right tamper size. Using a tamper that's too small is one of the most common home barista mistakes — it leaves a gap around the edge of the puck where water can bypass the coffee entirely.
| Machine | Tamper Size |
|---|---|
| Breville Barista Express / Pro / Bambino Plus | 53mm |
| Breville Oracle / Dual Boiler | 58mm |
| De'Longhi Dedica / Smeg 50s Style | 51mm |
| Gaggia Classic Pro / Rancilio Silvia | 58mm |
| E61 machines (Rocket, Lelit, ECM etc.) | 58mm |
| La Marzocco Linea Mini / GS3 | 58mm |
Not sure? Check the base of your existing portafilter — the diameter is usually stamped there. You can also use our Find Your Portafilter tool which covers most popular machines.
Step-by-Step: How to Tamp Correctly
Step 1 — Distribute your grounds first
Before you tamp anything, your coffee needs to be level. Grounds that are higher on one side will compress unevenly, creating a puck that's denser in some areas than others. This is a major cause of channelling.
Give the portafilter a gentle tap on the side to settle the grounds, then use a finger or a distribution tool to rake across the surface until it's flat and even. If you have a WDT tool, use it first to break up any clumps before levelling. This takes 10 seconds and makes a significant difference.
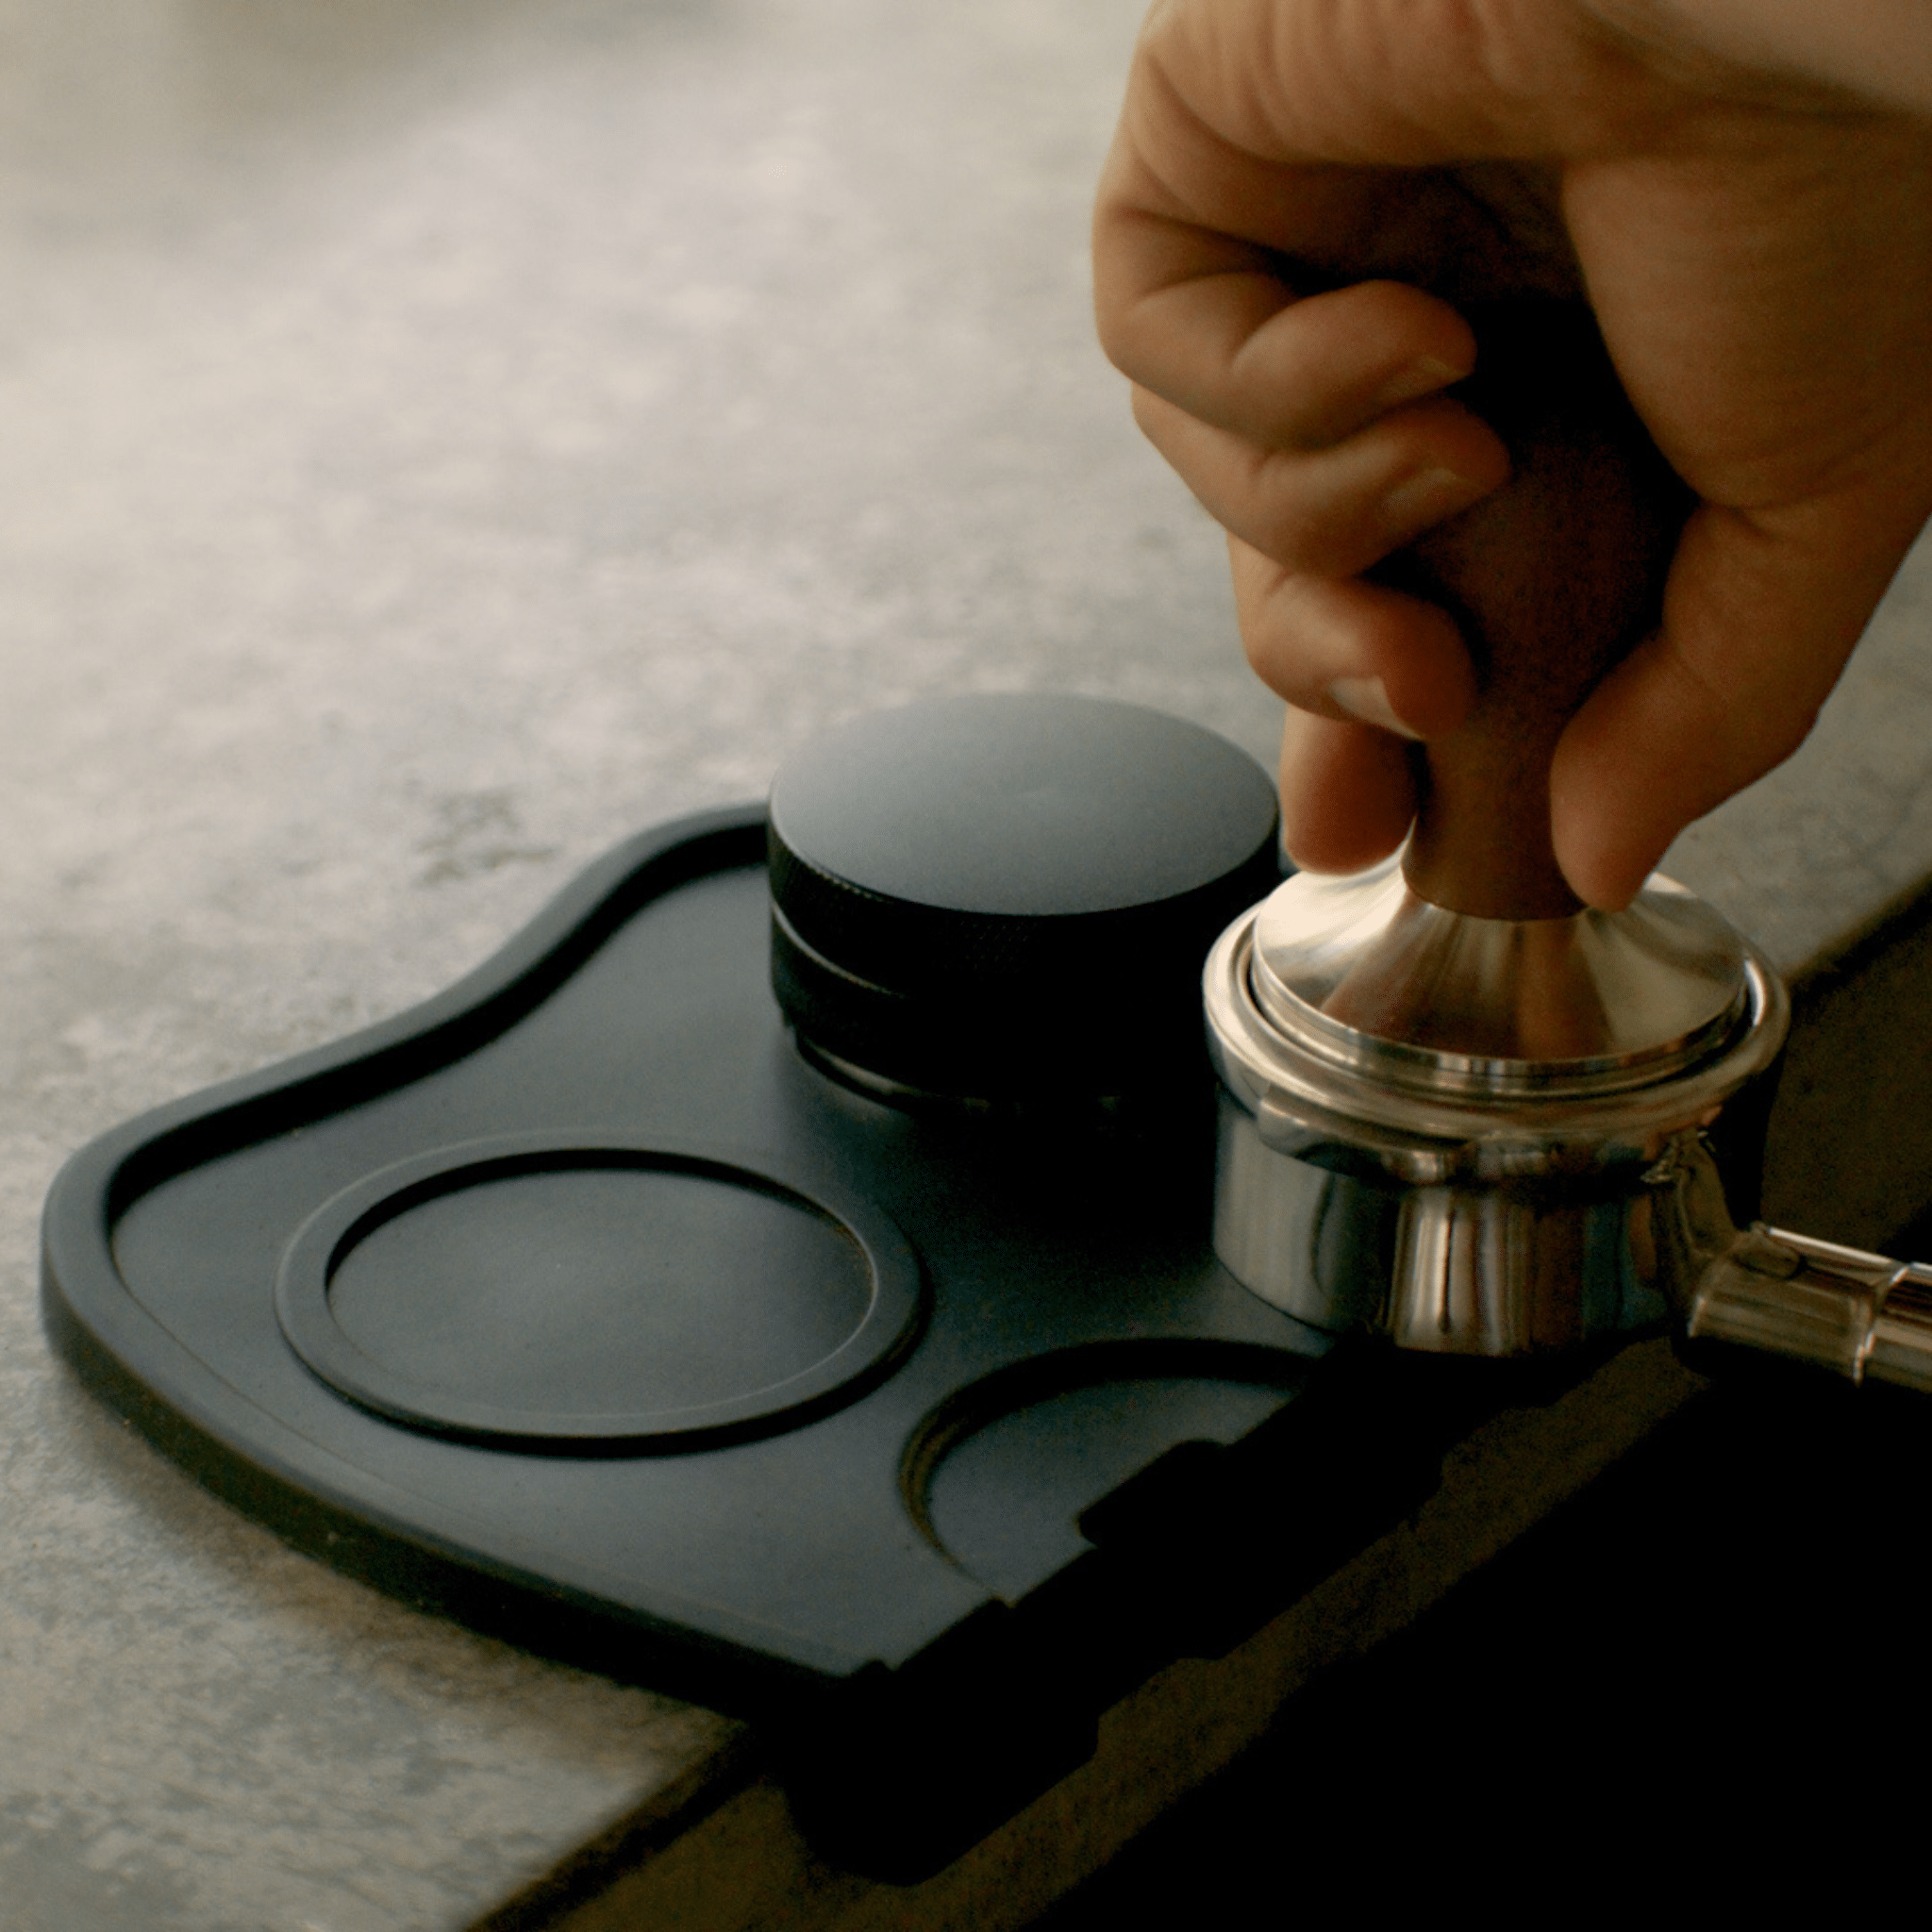
Step 2 — Position yourself correctly
Rest the portafilter on a tamping mat or folded cloth on a flat, stable surface. Position the tamper directly above the basket — elbow at 90 degrees, wrist straight. The goal is to apply perfectly vertical pressure. Tilting even slightly to one side creates an angled puck surface that causes uneven extraction.
Step 3 — Apply firm, even pressure
Press down smoothly and steadily until the grounds stop compressing. You're not trying to hit a specific weight — you're trying to achieve a firm, consistent puck. The old barista rule of '30 pounds of pressure' has largely been retired. What matters far more is that you tamp the same way every single time.
If consistency is something you struggle with, a calibrated tamper is worth considering. It has a spring mechanism that clicks at a pre-set pressure (usually around 10–15kg), so every tamp is identical regardless of how you're feeling that morning.
Step 4 — Polish the surface
Once you've applied pressure, give the tamper a gentle quarter-turn as you lift it away. This smooths the surface of the puck and closes any micro-cracks that may have formed during compression. It takes one second and it's a good habit to build.
Step 5 — Check the puck
Look at the surface of the tamped puck. It should be flat, even, and level across the entire basket. If one side is higher than the other, or if there are visible gaps around the edges, knock the puck out and start again. A lopsided puck will produce a lopsided shot.
Common Tamping Mistakes
- Using a tamper that's too small — leaves a channel around the puck edge. Always match tamper size to your basket.
- Tamping at an angle — creates a sloped puck surface and guarantees channelling. Elbow up, wrist straight.
- Skipping distribution — tamping unlevelled grounds locks in whatever unevenness was already there. Always distribute first.
- Over-tamping — pressing so hard the grounds can't compress properly under brew pressure. Firm is fine, white-knuckled is not.
- Inconsistent pressure — varying your tamp force shot to shot makes it impossible to dial in your grind. Pick a pressure and stick to it.
Does Tamping Pressure Actually Matter?
This is one of the most debated topics in home espresso — and the research suggests consistency matters far more than the specific amount of force. Studies have shown that anywhere between 10kg and 20kg of pressure produces essentially the same extraction, as long as the puck is even and there are no gaps.
What this means practically: don't obsess over hitting a specific number. Instead, focus on tamping the same way every time. If you want to remove pressure entirely as a variable, a calibrated tamper is the cleanest solution — it handles the consistency for you so you can focus on grind and distribution.
The Full Puck Prep Workflow
Tamping doesn't happen in isolation — it's the final step in a puck preparation process. Here's the complete workflow that consistently produces the best results:
- Dose — grind your coffee directly into the portafilter or transfer from a dosing cup (18–20g for a double shot)
- WDT — use a needle distribution tool to break up clumps (optional but recommended)
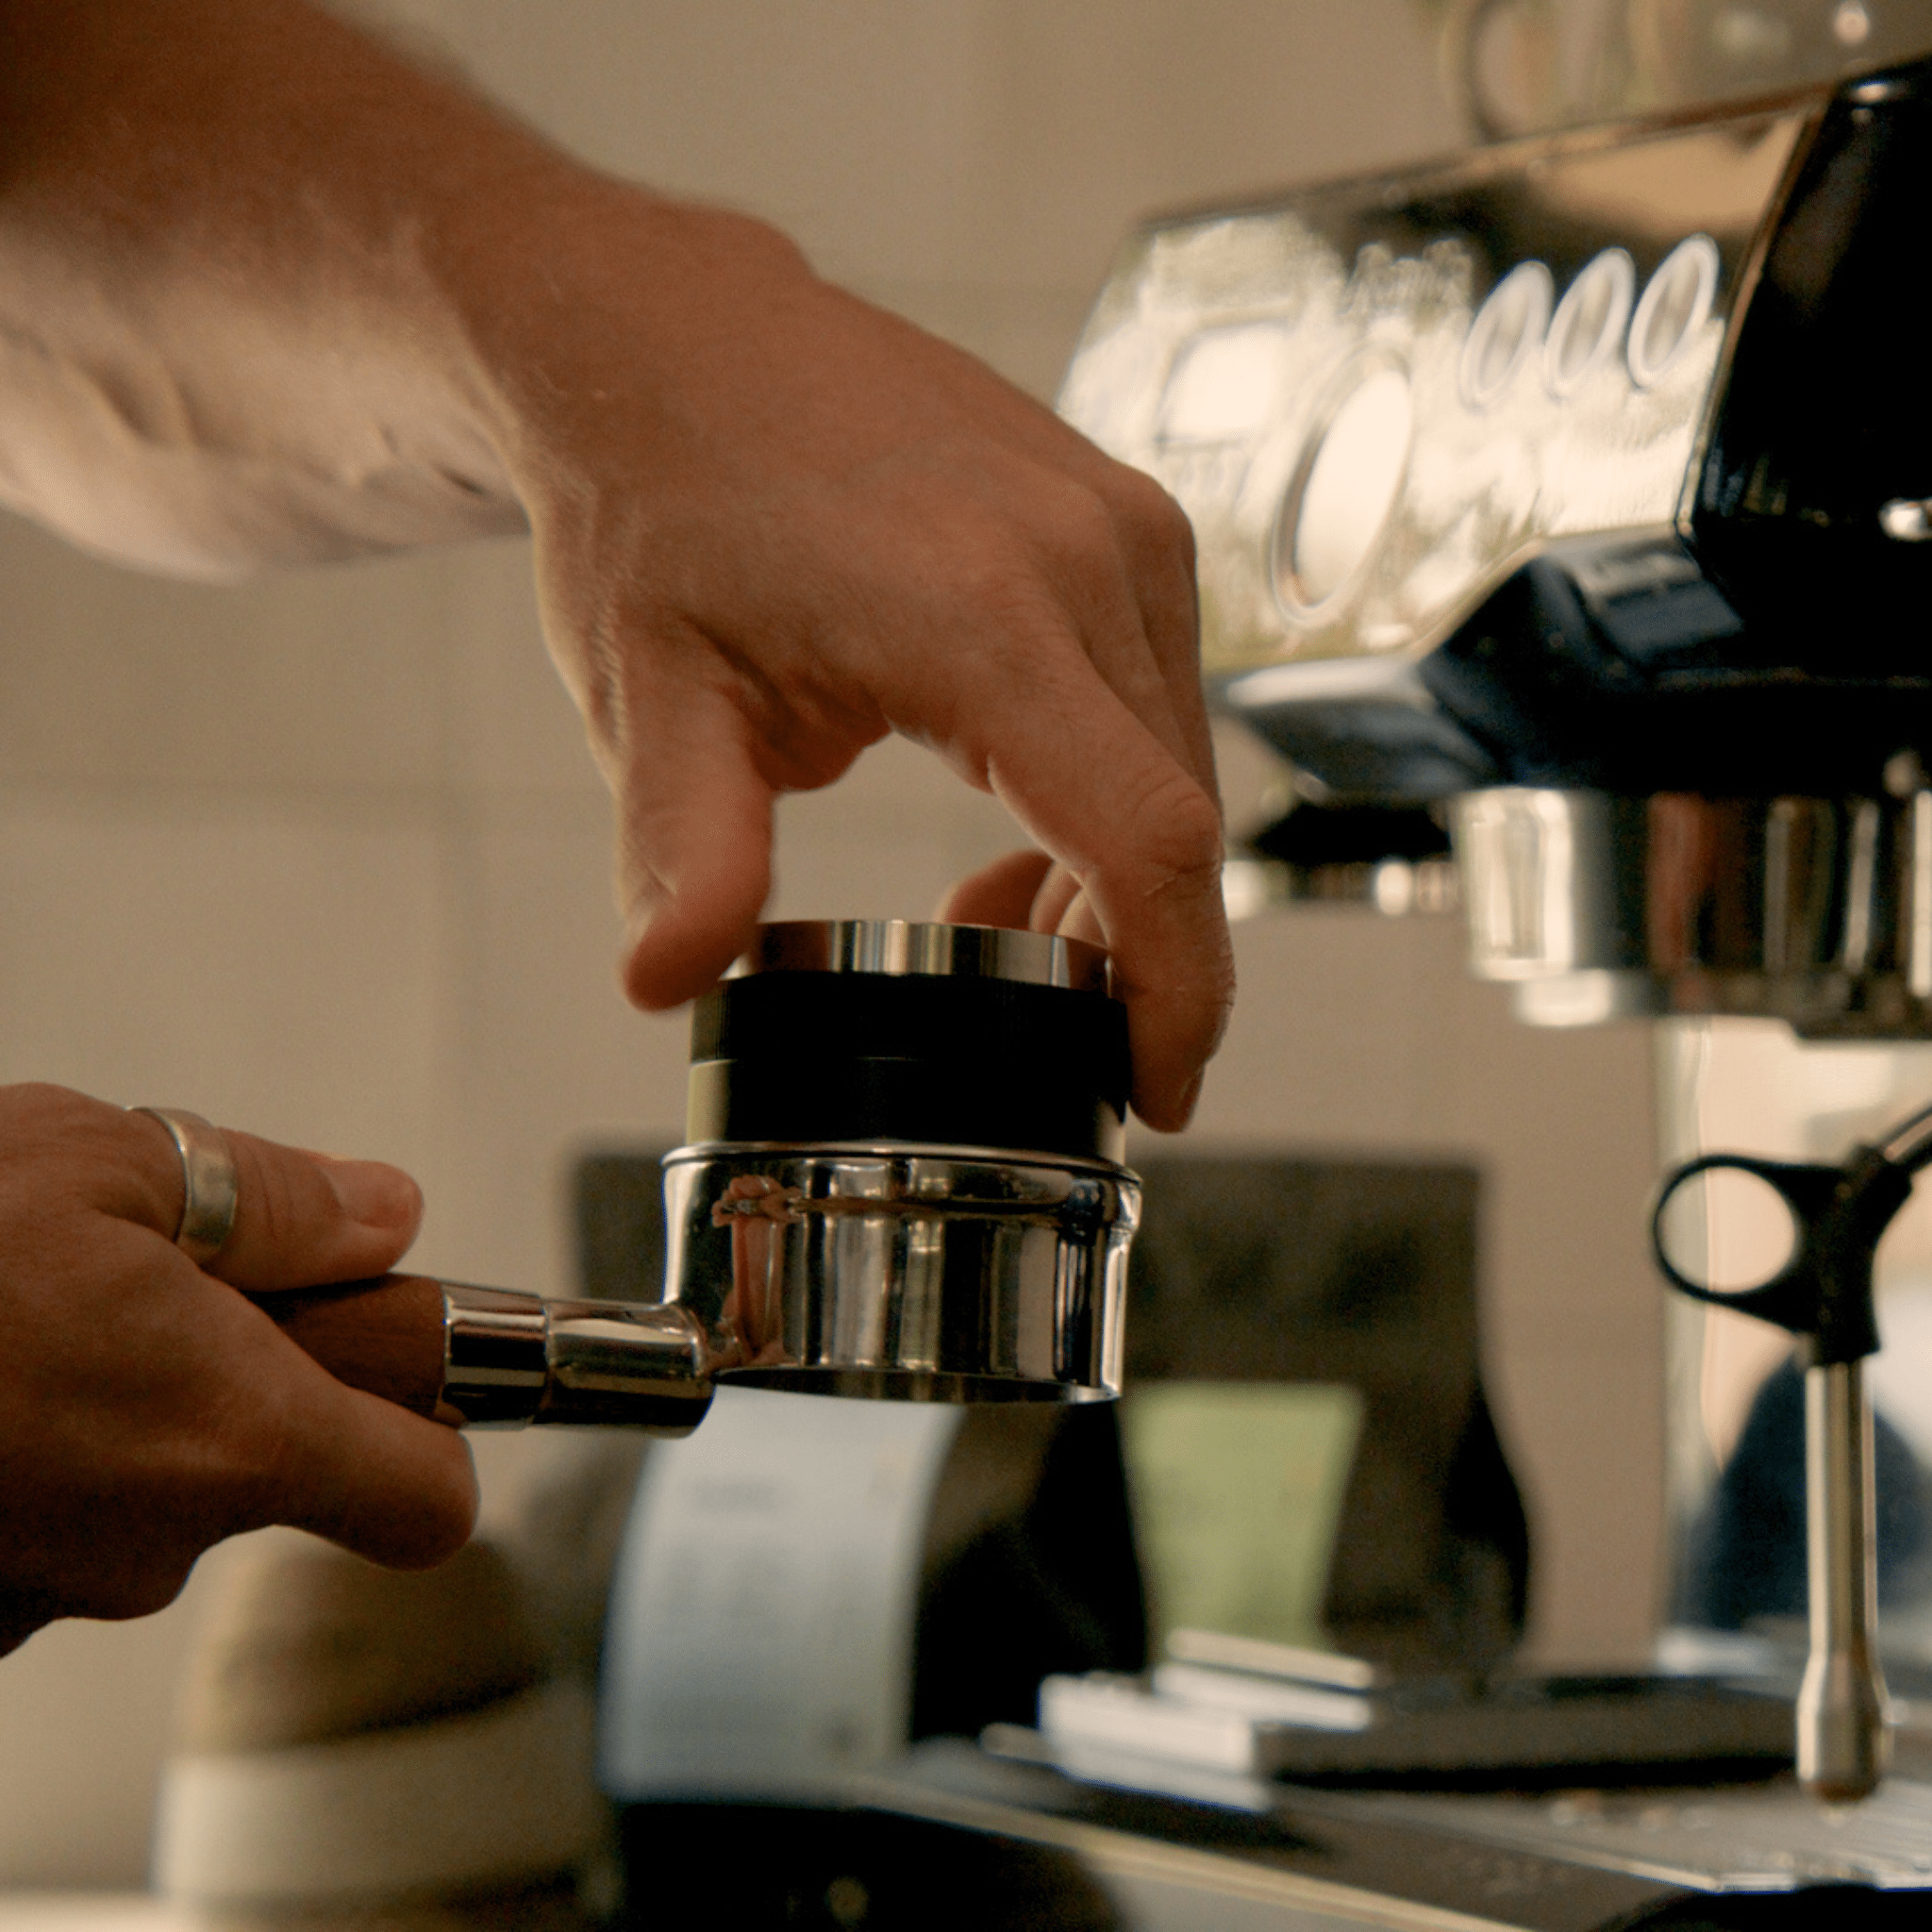
- Distribute — level the grounds with a distributor or your finger before tamping
- Tamp — firm, vertical, consistent pressure followed by a polishing twist
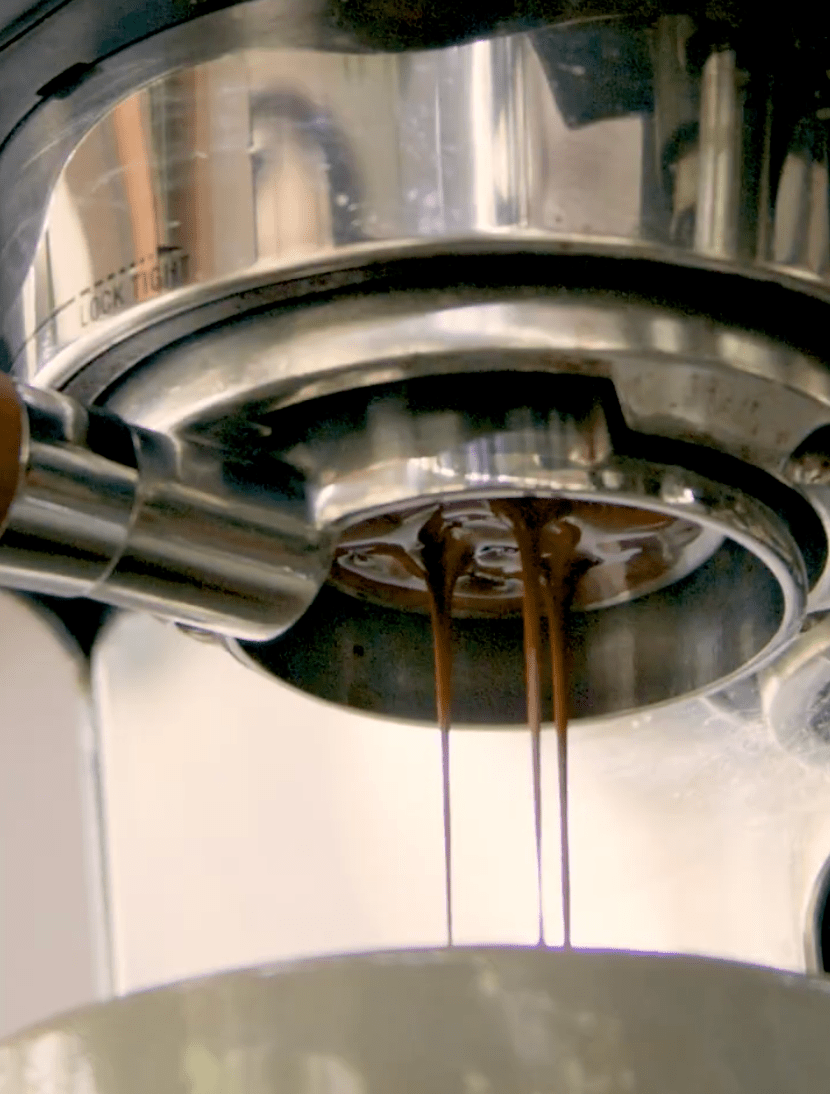
- Puck screen — place a puck screen on top before locking in, for even water distribution (optional but recommended)
- Lock in and brew — aim for 25–30 seconds for a 1:2 ratio (e.g. 18g in, 36g out)
Following this workflow consistently is the single biggest thing you can do to improve your espresso at home. Each step removes a variable. The fewer variables, the more consistent the shot.
The Right Tools Make It Easier
You don't need to spend a fortune to tamp well — but having the right tools removes friction from the process and makes consistency much easier to achieve.
- A properly sized tamper — the most important thing. Get the right diameter for your machine. Shop tampers →
- A calibrated tamper — if consistency is something you want to automate. Removes pressure as a variable entirely.
- A distributor or 2-in-1 tamper & distributor — for level, clump-free grounds before you tamp. One of the most popular upgrades among home baristas for good reason. Shop distributors →
- A puck screen — goes on top of the tamped puck and ensures even water distribution during extraction. Shop puck screens →
Quick Summary
- Key goal: flat, even, consistent puck — not maximum force
- Always distribute your grounds before tamping
- Tamp vertically — elbow at 90 degrees, wrist straight
- Polish with a twist as you lift the tamper away
- Check the puck is flat and even before locking in
- Tamper size must match your basket — see the compatibility table above
- Want guaranteed consistency? A calibrated tamper removes pressure as a variable
Get your tamp right and the rest of espresso making becomes a lot more predictable. It's one of those fundamentals that quietly underpins every shot you pull — and once it clicks, you'll wonder how you ever did it differently.
もっと見る
Buying a bottomless (naked) portafilter? Learn what to expect, why you might see spurting or erratic flow, what the visual cues mean, and how to fix common issues like channeling, seal problems or ...
You've dialled in your grind. You've tamped carefully. You lock in the portafilter, hit brew — and something still looks wrong. The flow is uneven, there's a thin jet spraying off to one side, and ...
コメントを書く
このサイトはhCaptchaによって保護されており、hCaptchaプライバシーポリシーおよび利用規約が適用されます。